As your collection of records expands, you’ll inevitably start thinking about how to keep your albums sounding their best. Vinyl records are more than just a music format—they’re physical artifacts that demand a little care to preserve their magic. Whether you’re a seasoned collector with hundreds of LPs or you’re just beginning your vinyl journey, learning how to properly clean and care for your records is essential. This guide will walk you through the reasons why cleaning matters, the tools you’ll need, and the step-by-step process to keep your collection in pristine shape.
Why Cleaning Vinyl Records Matters
Taking time to clean your records isn’t just about appearances—it directly impacts sound quality and the lifespan of your collection.
-
Improved Sound Quality
Dust, dirt, and even microscopic debris collect in the grooves of your records over time. These particles can cause unwanted pops, crackles, or distortion. In some cases, grit lodged in the grooves can even prevent the stylus (needle) from accurately tracking, leading to skips. -
Removing Manufacturing Residue
Even brand-new records fresh from the pressing plant often carry remnants of vinyl shavings, oils, or release agents used during production. Likewise, paper fibers from inner sleeves can cling to the record surface. A proper first cleaning ensures you’re hearing the album as it was intended. -
Reducing Static Electricity
Static isn’t just annoying—it attracts more dust and debris, creating a cycle of buildup. Worse, heavy static discharges can eventually harm your stylus. Regular cleaning reduces static, leading to a quieter, more consistent listening experience. -
Protecting Your Investment
Collectible records can hold significant value, but only if they remain in good condition. Proper cleaning and handling extend the life of your records, ensuring they remain both playable and valuable for years to come.

Essential Tools for Cleaning Vinyl Records
There’s a wide range of products available for cleaning records, from simple manual brushes to professional-grade cleaning machines. You don’t need to buy everything at once (even though there are essential cleaning kits that offer everything you need), but here are the basics to get started:
-
Carbon Fiber Brush (or Anti-Static Brush): Designed to sweep dust from grooves while reducing static.
-
Record Cleaning Solution: A safe, alcohol-free liquid formulated specifically for vinyl. Avoid household cleaners or harsh chemicals.
-
Microfiber Cloth or Record Cleaning Pad: Used to gently spread the solution and lift contaminants.
-
Stylus Brush or Cleaner: Keeps the needle free of dust and buildup.
-
Optional Extras:
-
Record Cleaning Machines (Vacuum or Ultrasonic): High-end options for deep cleaning and restoring old or dirty records.
- Anti-static Guns: Devices like the Milty Zerostat release positive and negative ions that neutralize static charges on the vinyl surface. They help prevent dust attraction, reduce pops and crackles, and are especially useful in dry climates.
-
Step-by-Step Guide to Cleaning Vinyl Records
Follow this routine whenever you notice buildup—or as part of a regular maintenance habit.
Step 1: Remove Loose Dust
Hold the record by the edges and use a carbon fiber brush to sweep lightly in the direction of the grooves. Avoid brushing across the record surface, as this can push particles deeper.
Step 2: Apply Cleaning Solution
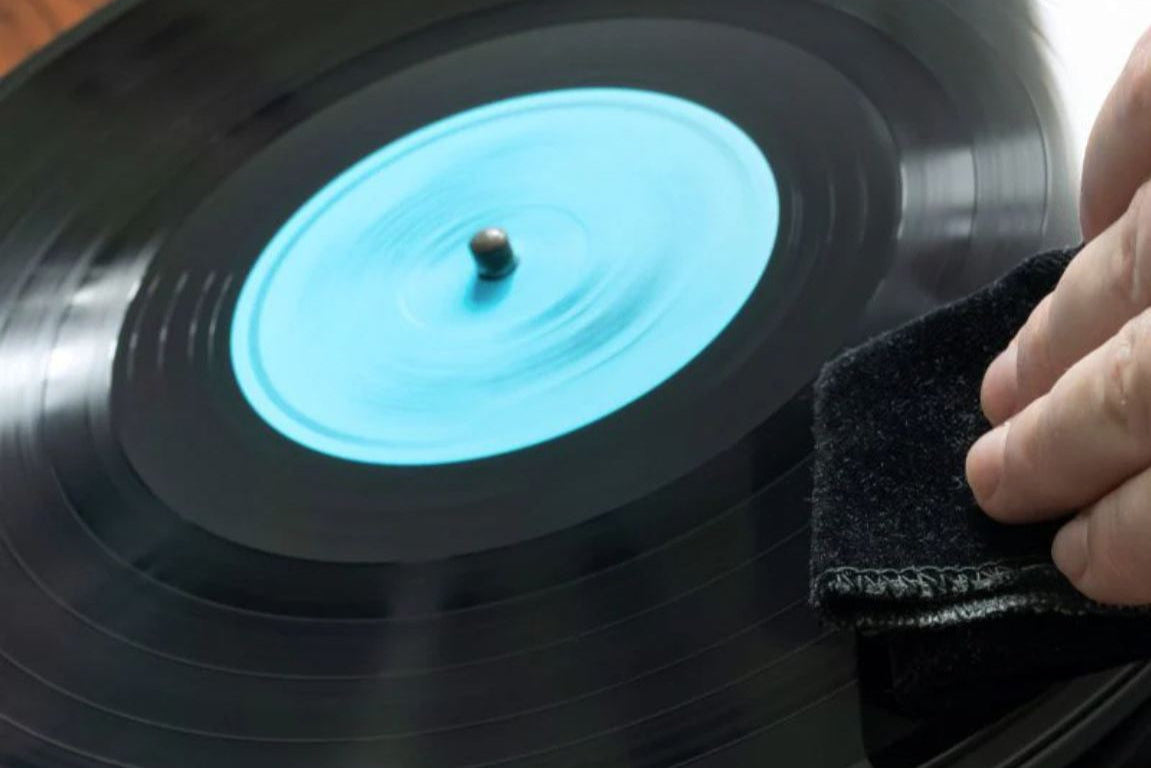
Dampen a microfiber cloth with record-cleaning solution (never apply liquid directly onto the vinyl). Gently wipe the surface in a circular motion that follows the grooves. This helps lift stubborn dirt and static without grinding debris into the record.
Step 3: Rinse (Optional but Recommended)
If you’re using a professional cleaning machine, follow the manufacturer’s instructions for rinsing and suctioning away residue. For manual cleaning, you can carefully rinse the record under lukewarm distilled water, taking care not to wet the label. Distilled water is preferred since tap water can contain minerals that leave residue.
Step 4: Dry Thoroughly
Use a clean, lint-free cloth to pat the record dry—avoid rubbing. Place the record vertically on a drying rack or clean surface and let it air dry completely before sliding it back into its sleeve.

Other Cleaning Methods
For collectors looking to go a step further, record cleaning machines are worth considering.
-
Vacuum Machines: These spread cleaning fluid over the surface, then vacuum away debris and solution.
-
Ultrasonic Machines: These use high-frequency sound waves in a water bath to loosen and remove microscopic particles deep in the grooves—ideal for archival cleaning.
If you’d rather not invest in equipment, many shops (including ours) offer professional record cleaning services, often included with purchases. This ensures each album is ready to play at its best right out of the sleeve.
Additional Tips for Vinyl Care
Cleaning is just one part of keeping your records in great condition. Proper handling, storage, and turntable maintenance make all the difference.
-
Handle with Care: Always touch records by the outer edges or center label—never on the playing surface. Oils and fingerprints can degrade sound quality.
-
Upgrade Inner Sleeves: Replace paper sleeves with anti-static, poly-lined inner sleeves to reduce dust and scratches.
-
Protect with Outer Sleeves: Use outer plastic sleeves to preserve the album artwork and keep dust away.
-
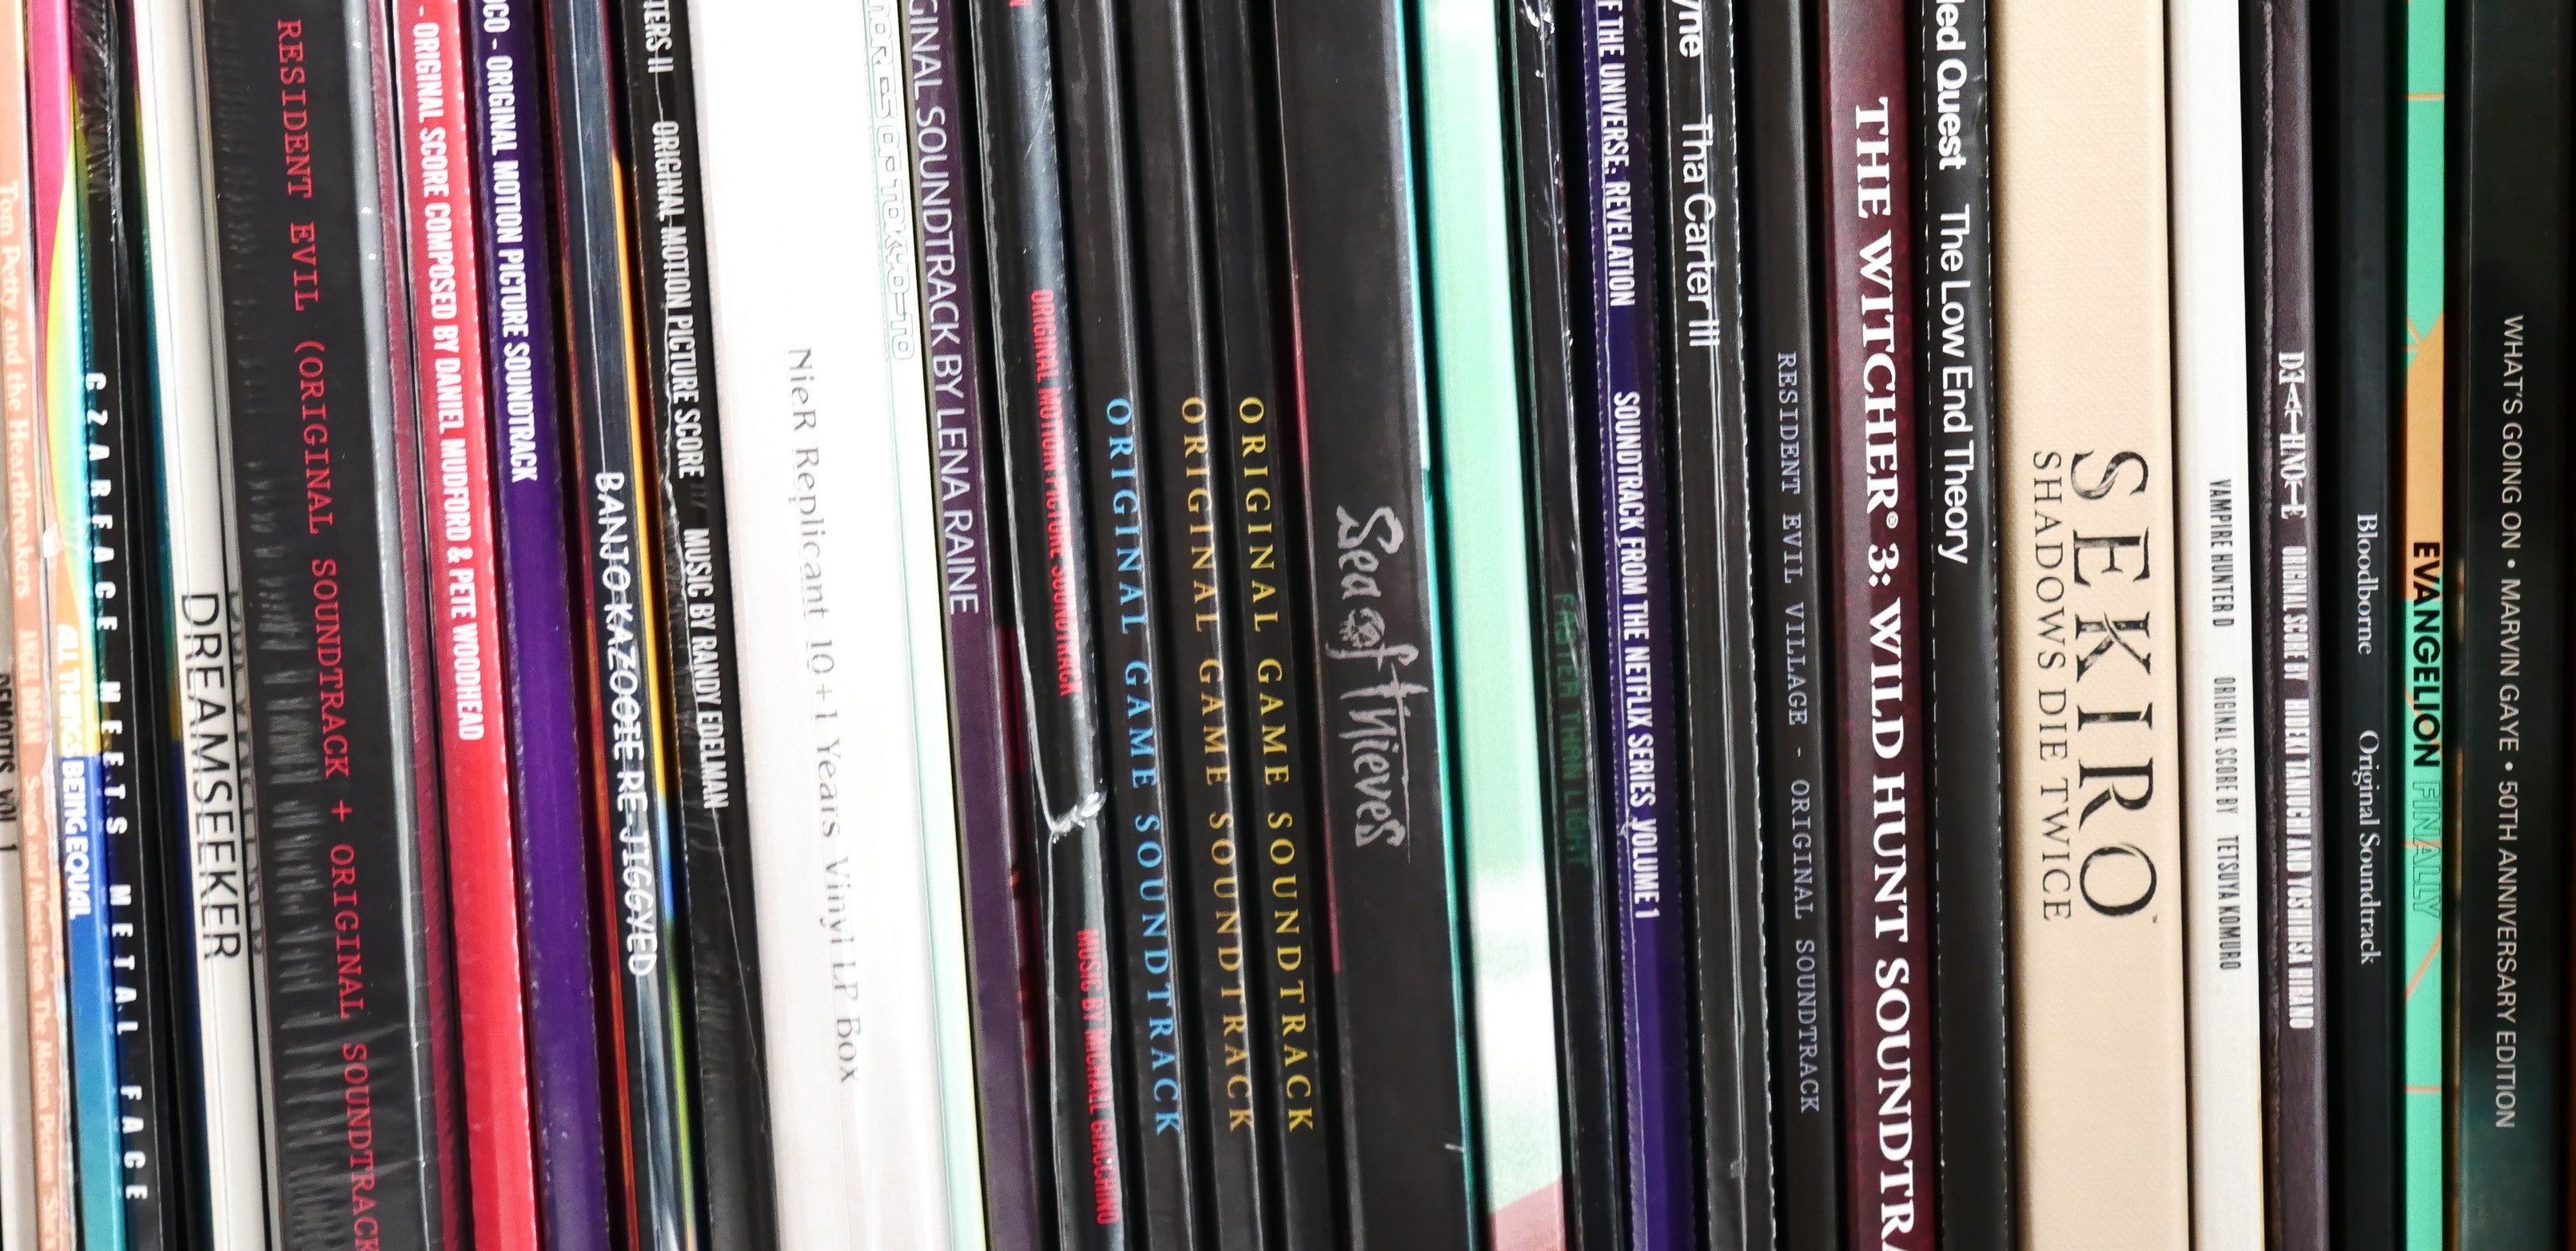
Store Vertically: Records should always be stored upright, never stacked. Stacking can warp vinyl over time and cause ring wear on covers.
-
Control the Environment: Keep your collection in a cool, dry space away from direct sunlight, high humidity, or extreme temperature swings.
-
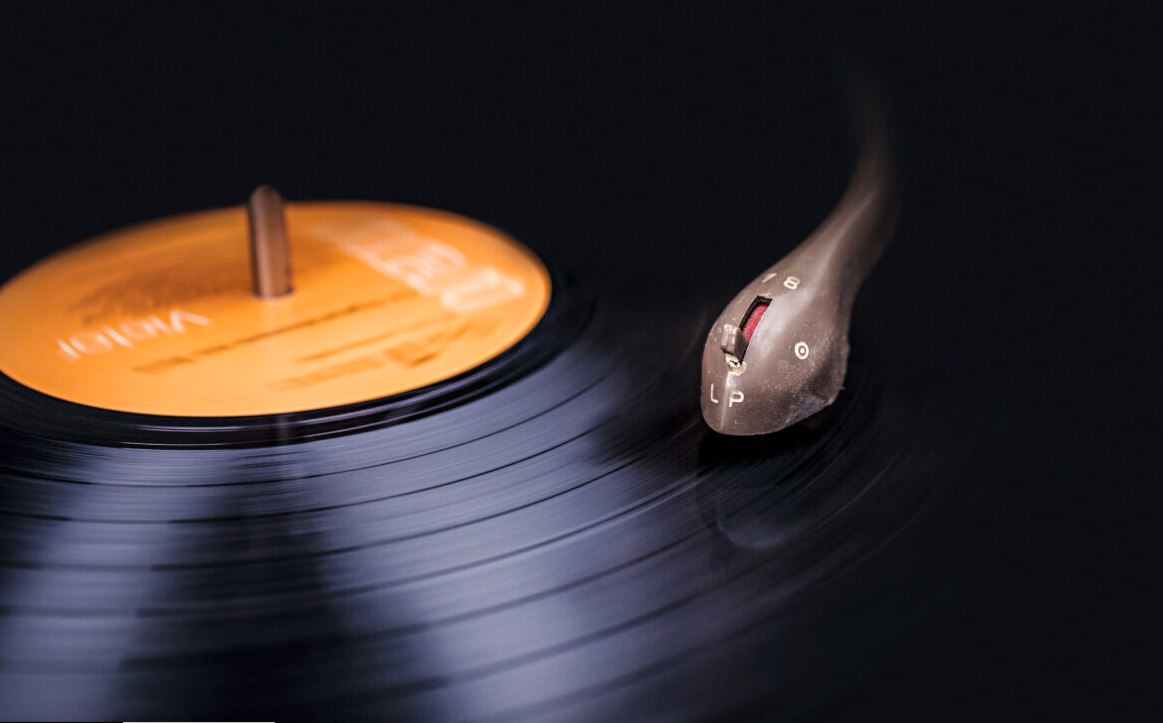
Maintain Your Turntable: Dust your turntable regularly and clean the stylus with a stylus brush. A dirty stylus can transfer debris back into the grooves of even the cleanest record.
Final Thoughts
Vinyl records reward those who take care of them. A little time spent cleaning and storing your collection correctly will pay off with better sound quality, longer record life, and a more satisfying listening experience. Whether you clean manually with simple tools or invest in professional-grade equipment, the goal is the same: to preserve the warm, rich sound of vinyl for years to come.
With the right routine, your records won’t just survive—they’ll thrive, ready to pass on the vinyl experience to future generations.


Share:
Video Games on Vinyl: New Tech Meets an Old Format